Keeping your Land Cruiser 80 Series in top condition can add more miles of off-road fun to your life. Since the 80 Series can rack up over 200,000 miles on the odometer, you want to do all you can to get as many miles as possible. We’ve compiled a list of easy maintenance tips that will help you get the most from your Land Cruiser.
Task #1: Check the power steering arms and joints
You’ll know if you have any problems with the steering arms or the joints because your ability to steer is affected. You might notice your steering is sloppy, or it makes noises. Since all mechanical parts wear out over time, you should make it a habit to check the steering for wear and pay attention to any changes you feel when you drive.
- The power steering arms and joints are found by the gearbox.
- Check them for cracks, bends, or play and ensure they’re securely mounted.
- Check around for leaking power steering fluid.
If you find worn parts, replace them.
Task #2: Check if the stud bolt under the kingpin is broken
A broken stud bolt puts pressure on the remaining bolts, which will eventually cause the rest of the bolts to fail.
- Locate the kingpin under the front axle.
- Look for damage.
- Make sure the bolt is tight. If there is excess play, it may be damaged.
When you tighten all of your bolts to spec, they will last longer.
Task #3: Inspect the steering box and upper Panhard chassis mount attachment
In a Land Cruiser 80 Series, the steering box and chassis mount tend to crack due to pressure from off-road driving. Check yours for cracks, and if possible, reinforce the area to eliminate the stress.
- Locate the steering box.
- Look for damage or fluid leaks.
- Make sure all of the mounting bolts and brackets are secure. Again, running off-road can loosen parts.
- Check the Panhard chassis mount for damage. If it’s loose, you lose your stability.
- Make sure the mount is secure.
- Make sure the bushings and bearings are not damaged. Too much play can cause steering issues.
Keep your steering box and mounts in good condition by regularly checking for wear.
Task #4: Inspect the power steering hoses, pump, and reservoir leaks
Look over your Land Cruiser 80 Series’ power steering system and check the hoses for leaks and wear. Replace any hose that looks like it’s starting to crack. Listen to your power steering pump when you turn corners. If it starts to make noise, it may be wearing out. Check on the ground or around the wheels for leaks from the reservoir.
- Locate the power steering components.
- Check the hoses for leaks, dripping, or stains.
- Inspect the pump, reservoir, and gearbox connection for fluid leaks.
- Make sure the power steering pump isn’t leaking.
- Check around the pump body, shaft seal, and fittings for signs of leaks.
- The reservoir and cap should be examined for cracks or leaks.
- Start the engine, and turn the steering wheel from side to side while watching the hoses for too much movement, kinks, or bulging.
Any power steering problem will affect the on and off-road performance of your Land Cruiser 80, so make this a priority.
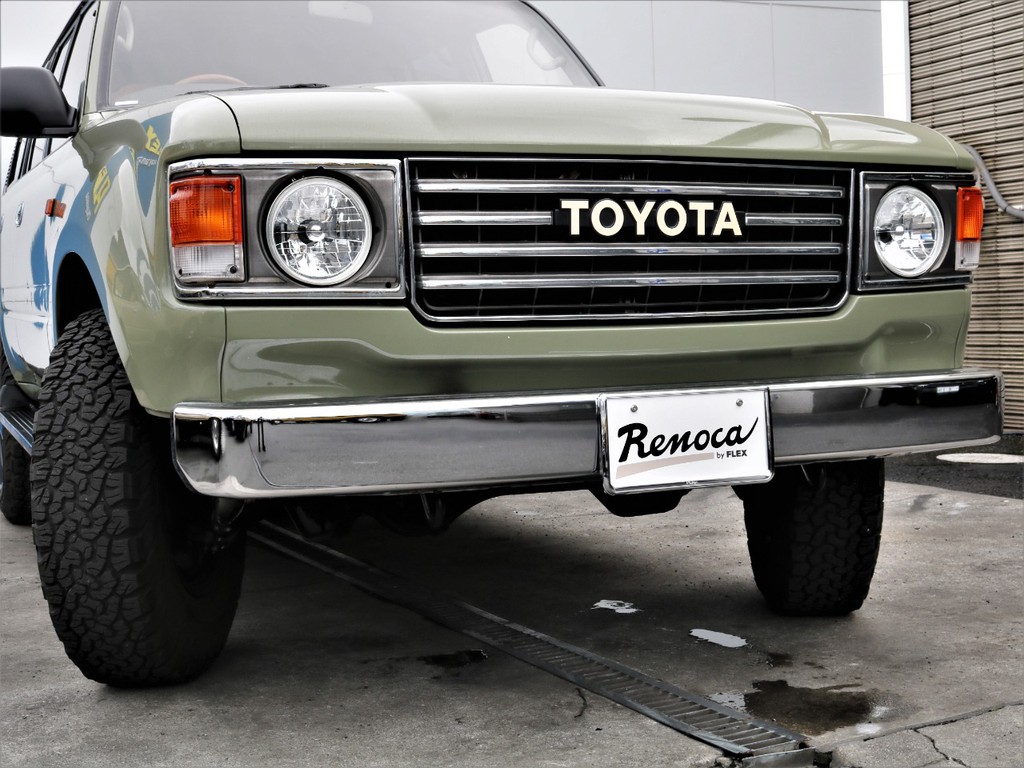
Task #5: Inspect all tire pressures
All of your tires should be of equal pressure and meet the rating on the sides. Check them regularly to ensure proper inflation. They may be unevenly inflated if you notice a pull or uneven wear.
- The first thing is to know the proper pressure for your tires.
- Use a tire gauge to check each tire for the proper pressure.
- Add or reduce pressure if you’re over- or under-inflated.
- Recheck the tire pressure.
Not only will you wear your Land Cruiser 80 Series tires out faster, but you’ll lose fuel efficiency and off-road capabilities with poor tire pressure.
Task #6: Inspect the wheel bearings’ condition
Look at the wheel bearings on your Land Cruiser 80 Series to ensure they are in good condition. You may need to grease them.
- Jack up your 80 Series
- Grasp the wheel at the top (12 o’clock) and the bottom (6 o’clock) position and move the wheel in and out, feeling for looseness and excessive play.
- Listen for a clunking sound that can indicate bad bearings.
- Take the wheel from the left side (9 o’clock) and the right side (3 o’clock) and rock it back and forth, feeling for excess play and looseness.
- Spin the wheel by hand and listen for scraping, rumbling, or grinding noises that indicate a failing bearing.
- Put your hand on the coil spring as you spin the wheel and feel for vibrations or roughness through the suspension. This could indicate a wheel bearing problem.
- Repeat this for each wheel.
Bad wheel bearings can make steering difficult, and the damaged wheel bearing puts stress on the hub, which can cause even more problems.
Task #7: More checks around the wheel nuts
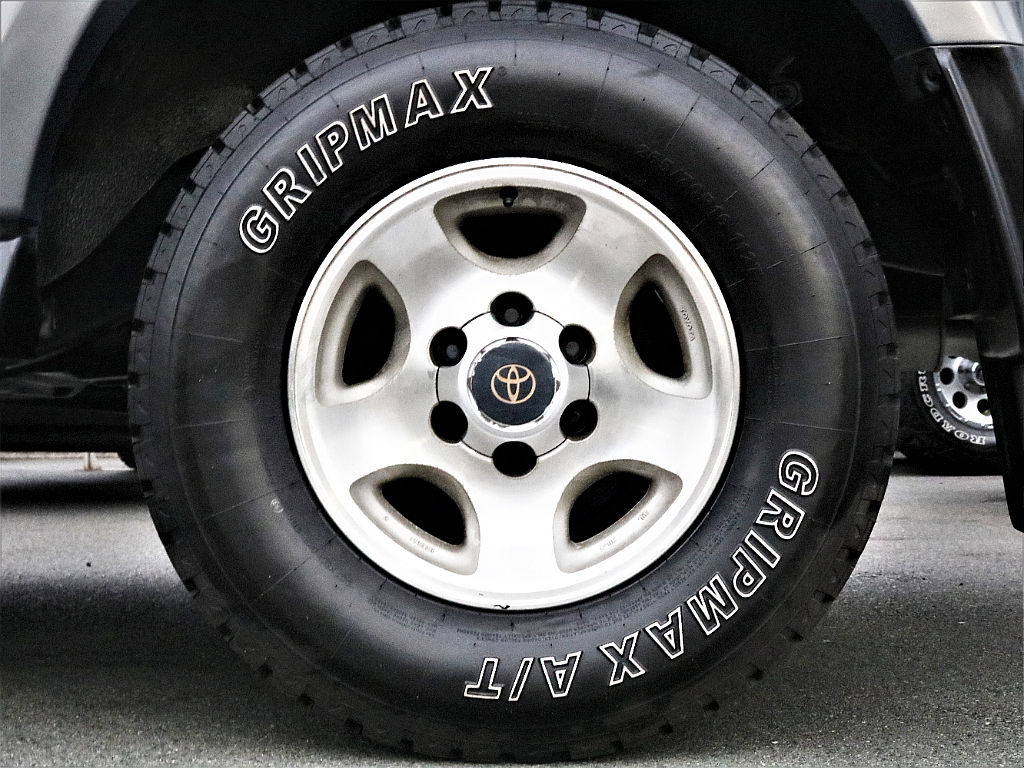
Your wheel nuts should all be the correct torque, so go through and get them to the right torsion. The more you drive off-road, the more likely they can be jarred loose.
- Inspect the area around the wheel nuts for damage or cracks.
- Make sure the nuts are secure.
- Look for dirt, debris, or rust around the nuts that can make it hard to tighten the nut. Clean and tighten the nut if it’s dirty.
- Look for oil or grease around the nut, which can indicate a seal or bearing leak.
- Check the tightness with a torque wrench.
- Do this inspection of all the wheels.
- Repeat this for each wheel.
Again, any extra stress on other parts, like the remaining wheel nuts, can cause further damage to bearings, studs, and even the loss of lug nuts.
Task #8: Check if the rear control arm bushings are broken
A pull in your steering during braking or acceleration can be a problem with the bushings in the rear control arm. It can cause the tires to wear unevenly.
- Locate the control arm.
- Check the bushing for signs of damage or wear. The rubber can tear, crack, or have missing pieces.
- Inspect the bushing for deterioration, such as drying, crumbling, or sagging.
- Move the control arm by hand and feel for excess play, which may indicate a broken bushing.
- Look underneath the control arm for leaks or other damage.
Since the rear control arms are connected to the suspension, any problem with the control arm can cause steering issues.
Task #9: Check the rear axle drive hub studs and nuts attachments
Go over the rear axle drive hub and check the studs and nuts attachments to ensure they are secure.
- Locate the rear axle drive hub.
- Inspect the nuts and studs for visual damage like cracks or missing parts.
- Check the tightness and use a torque wrench to return them to Toyota’s specs.
- Tighten the nuts in a star pattern to ensure proper seating.
- Look for oil or grease around the nuts, indicating a seal leak.
When the connections are secure, you lessen the stress on other nuts and studs.
Task #10: Check the differential fluid leaks
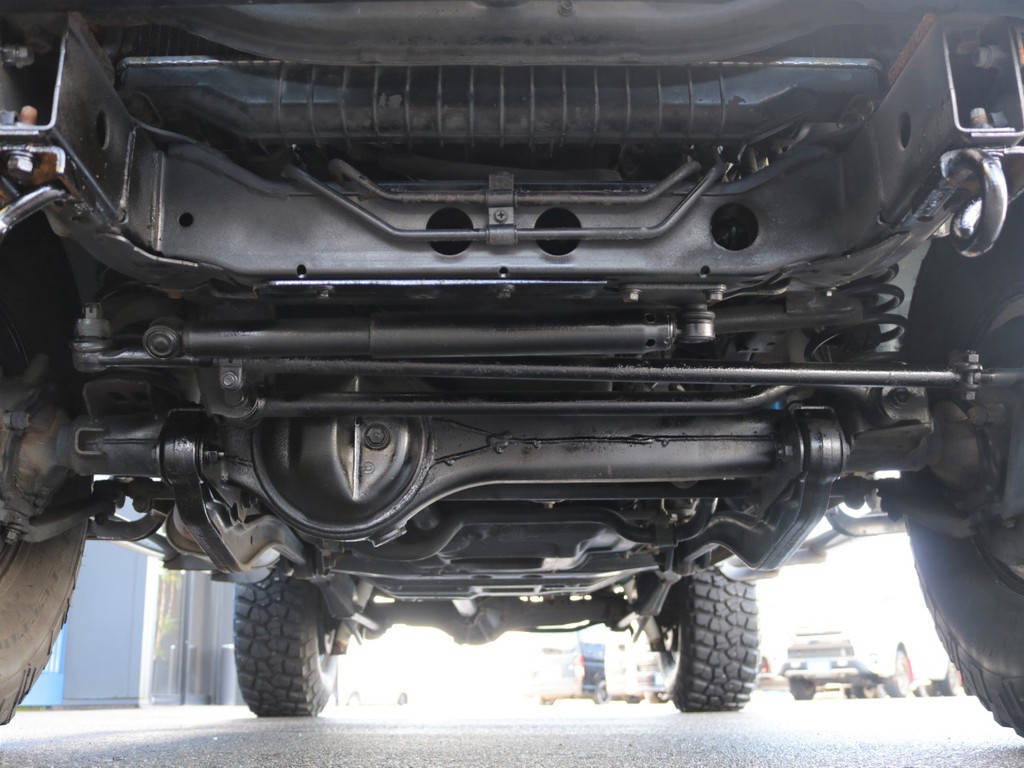
If you notice traces of oil under the differential or on the ground, there could be a leak. You might also hear a whining sound if you’re low on fluid.
- Locate the differential.
- Inspect it and the surrounding area for leaks. Look for puddles, wetness, or stains on the seams, gaskets, and connections.
- Check the fill plug and drain plug for leaks. If you see oil around the plugs, the washers may have deteriorated.
- Examine the cover for cracks or other damage.
While you can drive for a while with a slight leak – as long as you keep your transmission fluid level at the proper level –at some point, you run the risk of doing severe damage to your Land Cruiser 80 Series transmission.
Task #11: Check all fluid levels for brake oil, cooling water, and power steering oil
Fluid checks are essential to regular maintenance, and without the proper fluids in your brakes, radiator, or power steering system, the parts will wear out, you could overheat, or your brakes could fail. As part of your regular checkup, ensure these fluids are all at the proper levels.
- Check your fluid levels in the brakes, the water in the radiator, and the power steering fluid levels.
- Open the hood and locate the reservoirs for each component.
Brake Fluid
- Visually inspect the fluid in the brake fluid reservoir. It should be between the minimum and maximum levels on the indicator. Add the recommended brake fluid to the maximum level if it’s low.
- The brake fluid should be clear or light amber and free of debris.
Coolant Fluid
- The cooling reservoir may be transparent, making it easy to see. If not, wait until the engine is cold to open the reservoir cap.
- The coolant should be between the minimum and maximum levels. Make sure that you have the proper coolant for the weather.

Power Steering Fluid
- Check the power steering reservoir for the proper level.
- Add the recommended Toyota power steering fluid if the level isn’t between the minimum and maximum indicators.
- The power steering fluid should be clear or a light red color. Look for debris or other contamination.
When you’re done checking the fluids, ensure all the caps are tight. If you have to add fluids, it’s a good idea to check the entire system for leaks or other problems. Generally, the fluid levels shouldn’t change.
Task #12: Check the air filter
A dirty air filter ruins the engine performance, so this should be regularly checked, especially if you spend much time on dirt roads or in the sand.
- Open the hood and remove the clips or screws on the air filter housing.
- Lift the top and note the position of the air filter inside.
- Inspect the filter for dirt, debris, or damage.
- Replace your air filter if it’s dirty or clogged.
- Clean the air filter with compressed air or a vacuum cleaner if it is dirty but usable.
- Inspect the housing for dirt before you put the air filter back in.
- Reinstall the air filter and ensure it is seated before closing the filter housing.
You will get many more miles from your Land Cruiser 80 Series by keeping the air filter in good shape.

Task #13: Check the condition and tension of fan belts and cooling belts
The belts are a wear-and-tear item; some of the most critical belts are in the cooling system. A squealing belt can indicate a problem, so listen to your belts.
- Open the hood and find the fan belt and water pump belt.
- Visually inspect them for wear, tear, or damage.
- Check the tension on the belts by pressing down with your finger. It should be firm but not too tight. If you can easily press them down, they may require adjustment.
- Find the tensioner or adjustment mechanism.
- Adjust the belt based on Toyota’s specs.
- Recheck the tension when you’re done.
- Check the belt pulleys for wear and ensure they’re clean and dirt free. If there’s damage, you may need to replace the pulleys.
Take good care of your belts; your cooling system will keep your engine running properly.
Task #14: Check the brake hoses and water hoses condition
Connections on your brakes and water hoses can wear out, and hoses are another wear-and -tear part you should always check when doing any maintenance.
- Inspect the brake lines and water hoses for wear, tear, and damage.
- Make sure you check each brake line.
- Look for twists, kinks, knots in the brake lines, and wear on the side from rubbing against another part.
- Check the hose clamps and connections. Look for leakage and loose connections.
- Check the water hoses for cracks, bulges, and leaks. Look for coolant stains or wetness.
Keeping your hoses in good condition means your engine will run cool, and your brakes won’t fail you.
Task #15: Lubricate the grease nipple
Components need lubrication, and you should always ensure your parts are well-lubricated.
- Find the grease nipple on the component that you want to grease.
- Clean the area around the nipple with a clean cloth or brush to remove dirt.
- Attach the nozzle or adaptor to the end of the grease gun.
- Secure the fitting to the nipple.
- Load the grease gun with the appropriate type of grease.
- Press the gun onto the nipple and lock it in place.
- Pump the handle or trigger and inject the grease into the nipple.
- Pump it until you see fresh grease coming out the edges of the part.
- Make sure that excess grease is not oozing out.
- After lubricating the part, remove the grease gun from the grease nipple.
- Wipe the nipple and part down with a clean cloth to remove excess grease.
If a part loses lubrication, it causes stress on the part, which will wear it down quickly.
Task #16: Check the handbrake functioning
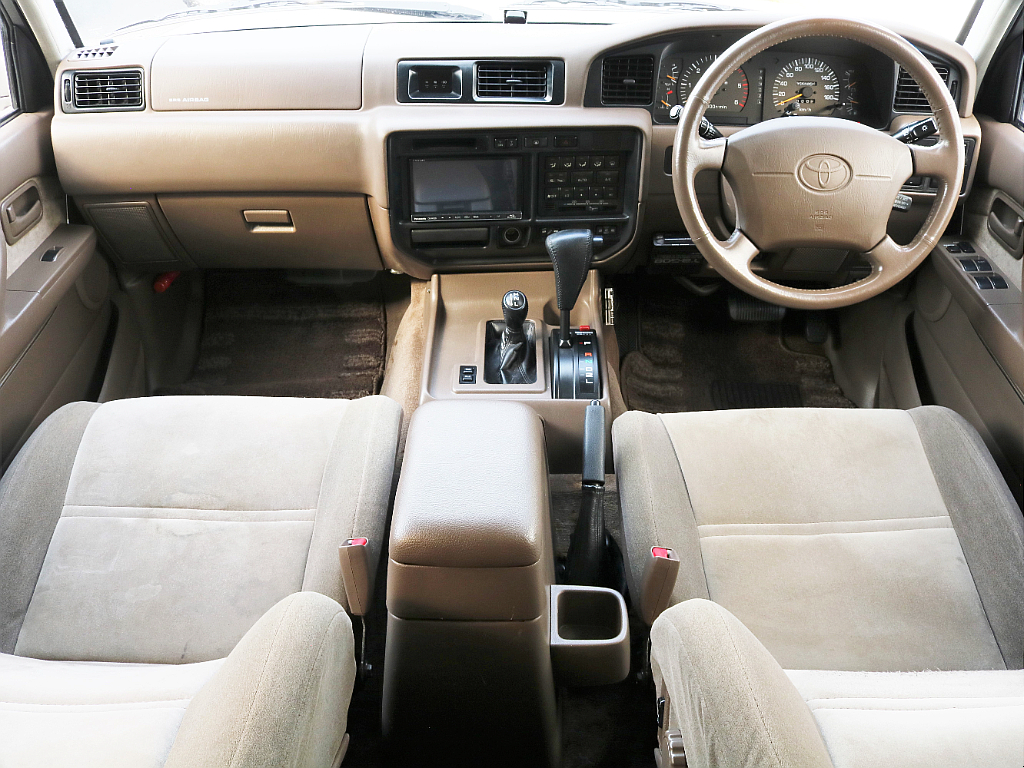
You might never need the handbrake on your Land Cruiser 80 Series, but if you do, you want it to work. Here’s how you can check to make sure it’s functioning.
- Press your foot to the regular brake and hold it there while you test the handbrake.
- Ensure the handbrake is fully released in a lowered or pushed down position.
- Slowly pull the handbrake up and feel for resistance. There should be some resistance before it engages.
- Continue pulling until it is fully engaged.
- Gently release the foot brake and try to move the vehicle.
- Press the release button or locking mechanism on the handbrake and lower it back to the fully released position.
- Repeat the check a few times to ensure that it functions.
- Listen for odd noises or sounds like grinding or squealing while checking the handbrake.
If you find that it’s not working, then you may need to repair it.
You should always take good care of your Toyota Land Cruiser 80 Series, but these quick maintenance tips can help you get years and years of driving excitement from your 80.


